
Disclosure: Links that are marked with * are affiliate links, which means that I will receive a commission if you purchase a product through my link. For you, there will be no additional costs.
Creating your own website seems to be a big challenge for many – but it doesn’t have to be. In this article I’ll show you how you can setup your own WordPress blog in a short time and without advanced technical knowledge.
Before you start with the actual setup, you should think about the future name of your website – also called domain.
What Should I Consider When Choosing a Domain?
Choosing a suitable domain name is often more difficult than you think. In the following I would like to give you a little guide so that you can choose the best possible domain for your needs.
Use a Name That Is Relevant to the Topic
An obvious point that I would like to mention is the relevance of your domain name to your topic or often called niche. Website visitors should be able to assess what to expect based on your domain name.
How specific you want to get should be carefully considered. To give a simple example: You might consider lawnmower.com (assuming the domain is still available) if your blog is only about lawn mowers.
What if You Later Decide To Write About Other Gardening Tools Besides Lawn Mowers, Though?
Then the domain lawnmower.com is no longer suitable and it would be advisable to create a new domain to avoid confusing website visitors and keep a reputable impression.
For this reason, when setting up a domain, you should carefully consider whether you really want to stick to a rather specific topic, as in the lawn mower example, or whether you want to choose a less specific name.
A domain like gardentools.com or a brand name like the garden tool tester, the gardener next door etc. would probably be more suitable in this case.
Memorize
The domain name should be indicative of your niche easily, but it should also be not too specific, otherwise it might get in the way of a smooth topic expansion of your website.
Keep the Domain Name as Short as Possible
Of course, you want your website to be remembered by visitors. In addition to good content, a concise website name is also helpful.
Choose a Top-Level Domain (TLD)
For a more detailed summary of what top-level domains (short TLDs) are and which one is right for you, visit https://neilpatel.com/blog/top-level-domain/.
To summarize: In most cases, you should choose a .com TLD. If you want to run a business, blog or any sort of professional website.
Nonprofits, social causes, groups and clubs can also go for an .org TLD.
A .net TLD is also an option for businesses. But it doesn’t fit all. Businesses that might fit include
Check Domain Availability
If you have found a suitable domain name, you can check the availability on the website https://www.namecheap.com/.
You can often register the domain directly with the hosting provider as an inclusive domain (depending on the provider and the plan, the number of inclusive domains varies, obviously). Thus, you do not have to look at the price lists next to the individual domain variants at namecheap.com.
Some More Domain Checkers
Selecting a Web Hosting Provider
In the jungle of all the hosting providers it is not easy to keep track of everything. If you still want to try, I recommend this comparison.
The blog owner has put enormous effort into creating a detailed comparison of many hosting providers. There is probably a suitable hosting provider for every requirement in this list.
Sign Up With the Hosting Provider and Register Your Domain: Explained Using Bluehost as an Example
Since we have already found the name for our domain and checked it for availability, this is a simple process. Using Bluehost* as an example, I will show you.
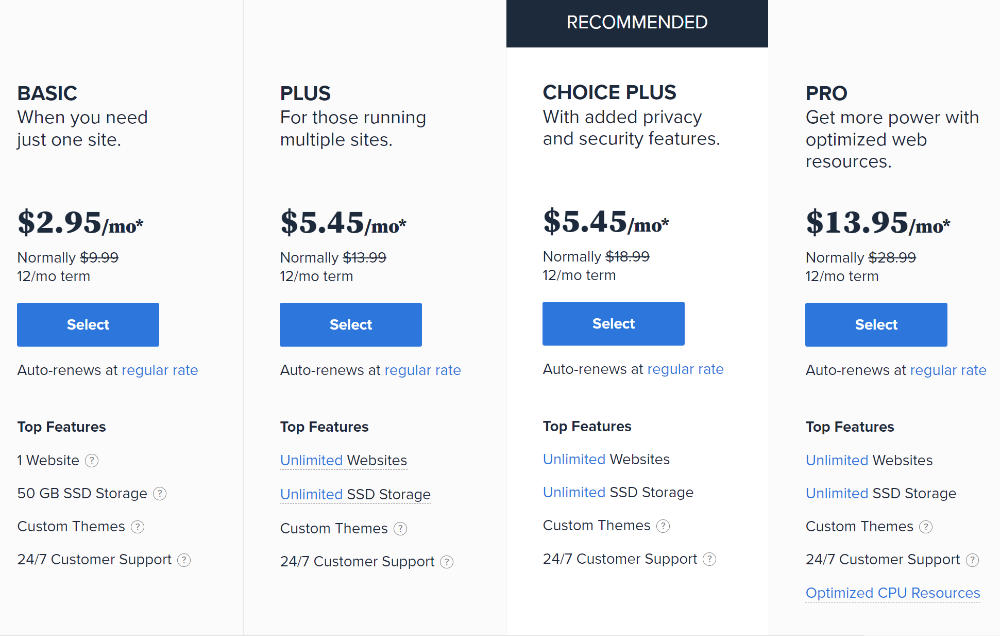
Choose a hosting plan. If you just want to run one website, the basic plan is sufficient.
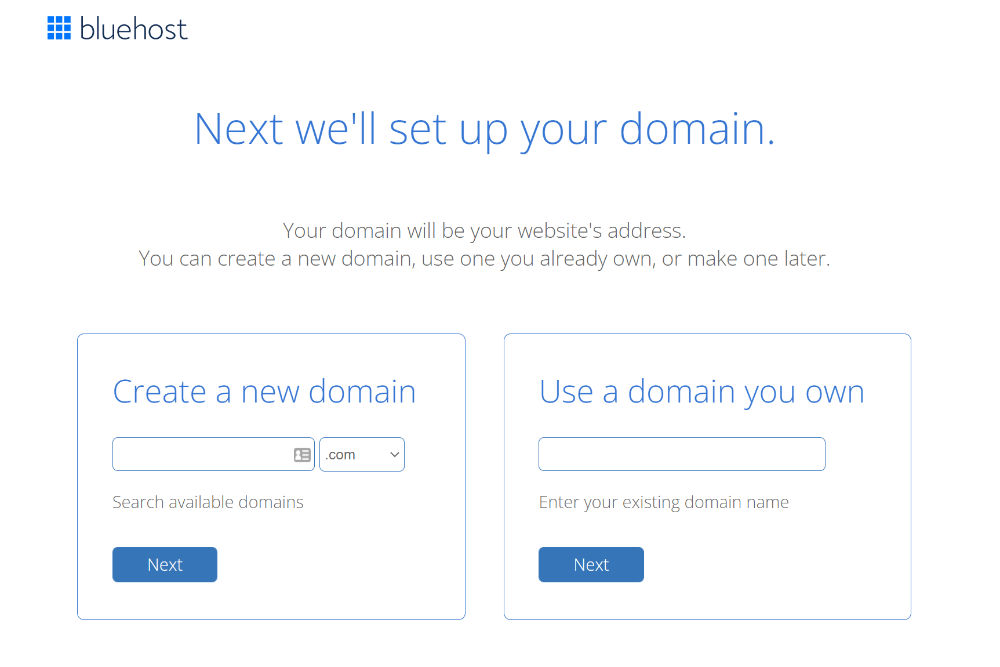
Then enter your desired domain name under Create a new domain. Click Next.
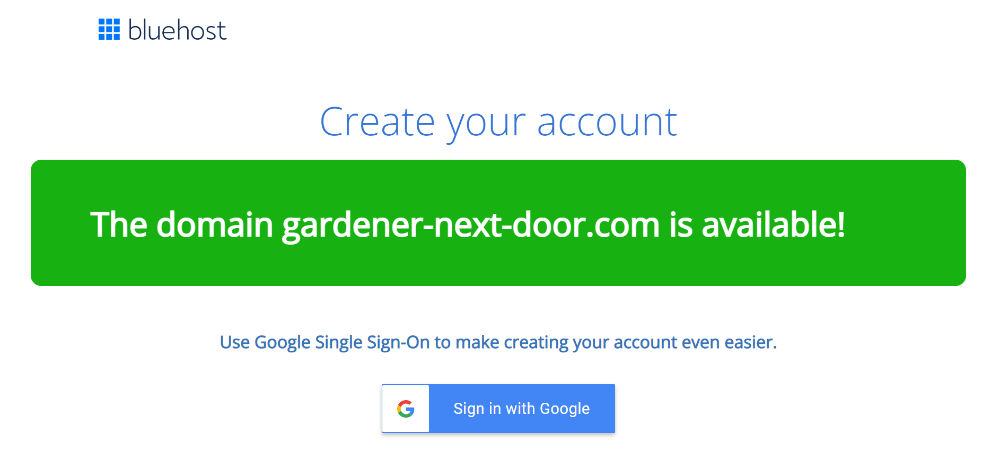
Since you have already checked the domain availability before, you should now see the message that this domain is still available.
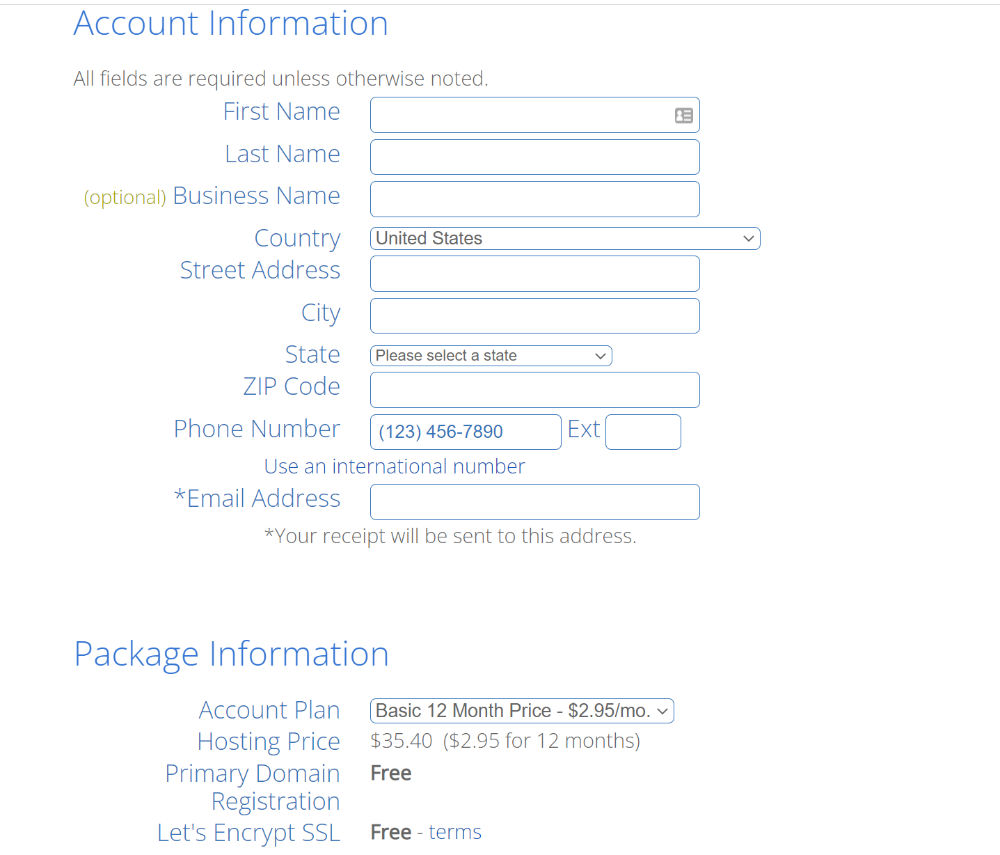
Now you need to provide some necessary information:
Below that, you will have the opportunity to change your hosting plan again, in case you have changed your mind.
If you scroll down a bit, you can select some packaging extras. Whether some of them might be useful for you, you can find out here.
Finally, you need to choose a payment method. Here you have the choice between credit card and Paypal.
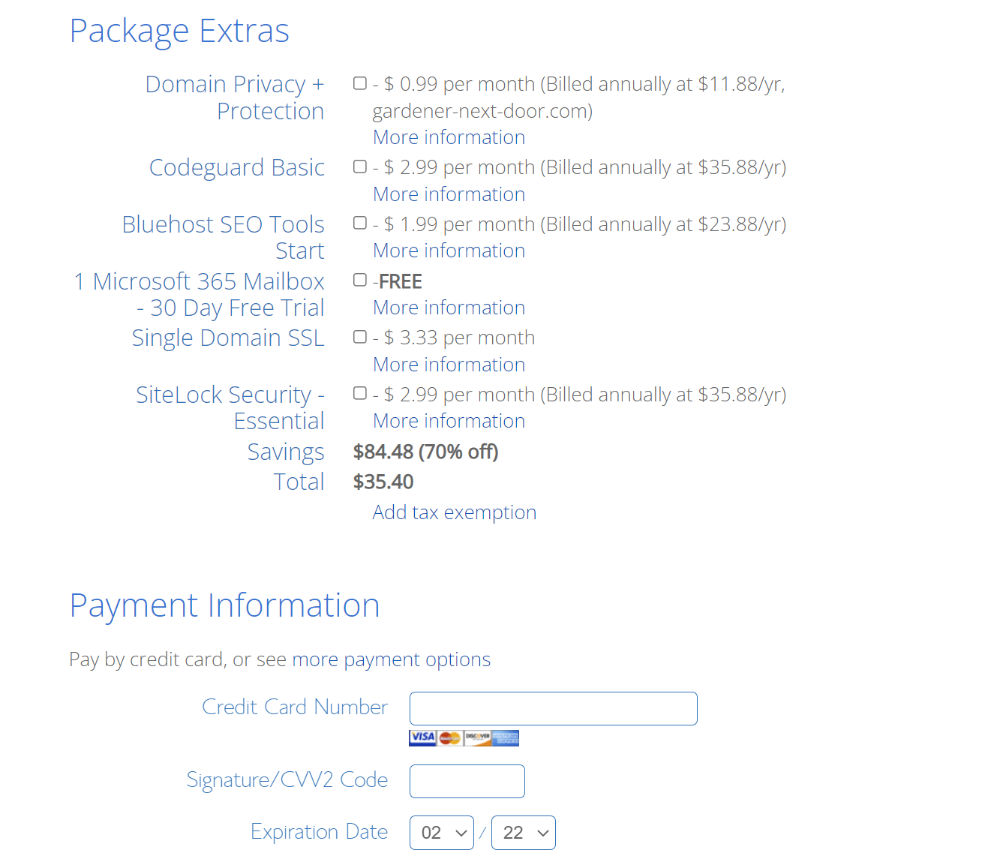
After you have agreed to Bluehost’s terms and conditions and decided whether you want to receive regular email updates, all you have to do is press Submit.
Install WordPress on Your Domain
Now you can install the WordPress software: Log in to your Bluehost account and open the My Sites Tab from the side menu on the left. Click on the Create Site button.

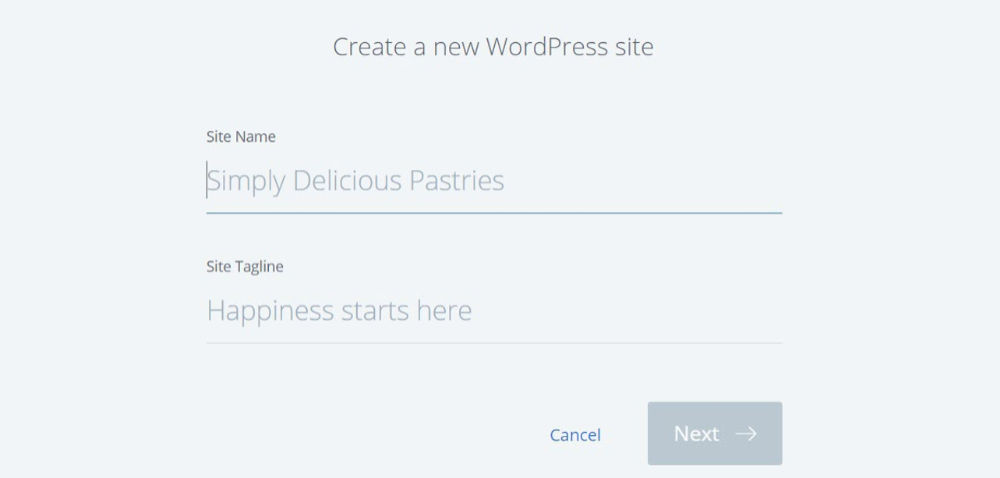
Next you need to enter the site name and tagline. In my example, it would be something like The Gardener Next Door as the site name and Learn everything you need to know about gardening as the tagline.
But don’t stress about it too much! You can always change that later.
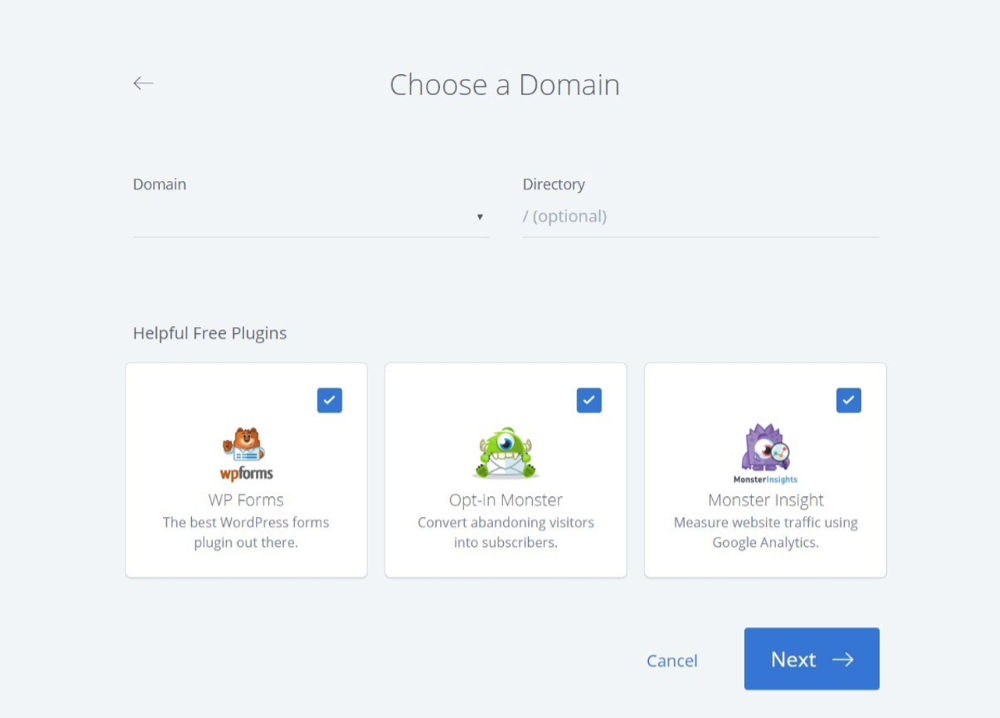
The next step is rather simple. Just choose your previously registered domain and click Next.
If you want, you can install some plugins directly along with WordPress. I would only recommend this if you already have some experience and know that you will need them at a later stage.
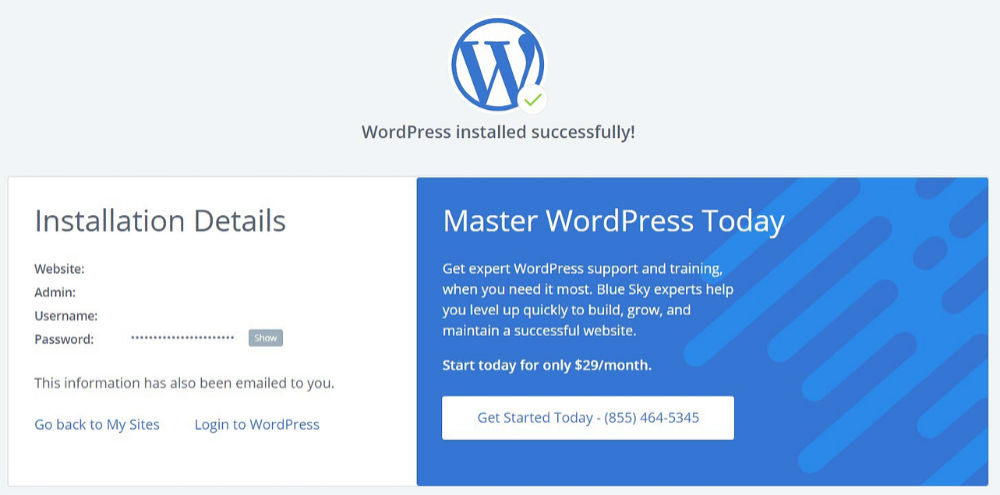
That’s it! The link Login to WordPress will take you to your wordpress dashboard.
Alternatively you can get to your wordpress dashboard at any time by typing your-domain.com/wp-admin into the address bar of your browser.
Next Step: Setting Up Your WordPress Installation
Among other things, this means choosing a suitable theme and necessary plugins; creating pages, posts, header and footer; integrating email marketing services and tracking tools such as Google Analytics and so on.
All this and much more you will learn on this website in the coming tutorials. So there is still a lot of work ahead!
Pin the image below and share this article!


